
I've always wanted a dual monitor setup for my desk as I like having a browser window open on one side while having VSCode open on the other.
However, I was always disappointed with the image quality, and it doesn't help that I have horrible eyesight and need the image to be extremely crisp and clear. I wanted to get two Apple Studio Displays, but the total cost would have been around $3,000.
I researched and found that the LG panels (model LM270QQ2) used in the Studio Display are available on eBay for around $100-$150. So, naturally, I bought two.
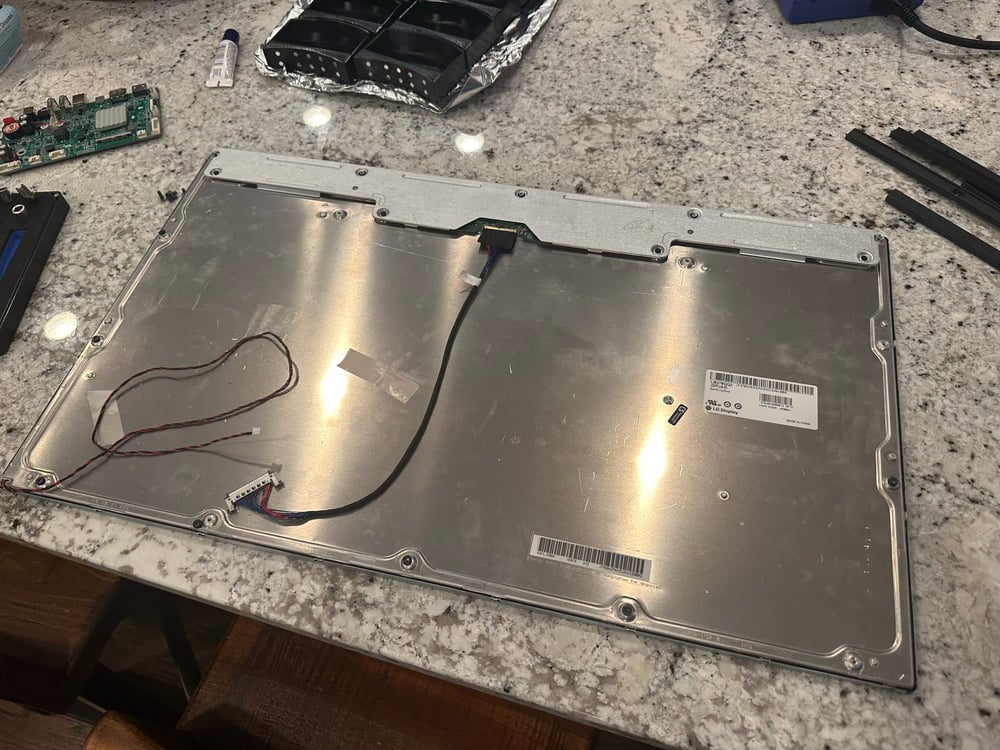
I had no idea how to drive them, as they used a very odd combination of two embedded DisplayPort links.
So, I went to everyone's favorite bargain site, Temu AliExpress! I typed in the panel model number and found these (relatively) cheap driver boards that supported a single DisplayPort connection.
They take a standard 12V DC input, so I also bought two 12V 5-amp power supply bricks. I designed some sheet metal brackets to hold the driver boards to the display, as well as to add a VESA mount to the backside.
I started by screwing the panels onto the sheet metal brackets with M3 screws, and then attached the driver boards. I went back and added LED backlighting with my custom WLED controller boards and some WS2815 strip lights.
The mount is a Humanscale M2.1 with an extended crossbar to support dual monitors.
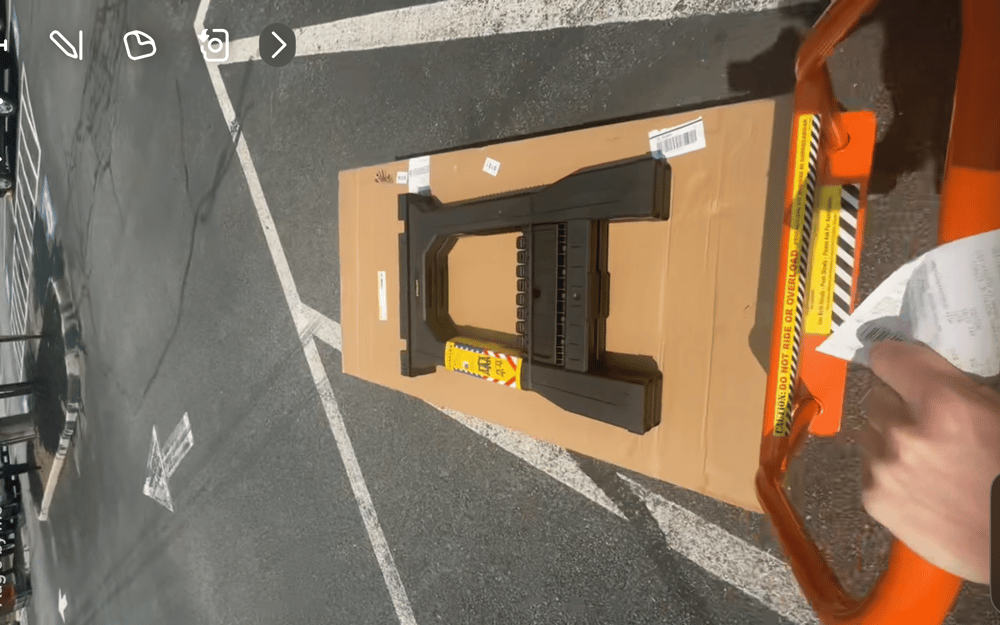
The wood was a live edge Saman butcherblock purchased from Home Depot for about $350. They actually ended up giving me an extra $100 off since it was over a week late!
I prepped the wood by sanding it all down with 150, 300, and 450 grit sandpaper. Then, I applied some oil-based Walnut stain. After that, I used wipe on polyurethane to seal the desk.
I used an electric standing desk frame that I found on Amazon for the legs, but unfortunately don't have any photos of the installation.
I ended up drilling a 2-inch hole into the desk to attach the monitor arm.